Mastering the Exposure Triangle: Your Photographic Compass
- Sinisa Zec Studio
- No Comments
- Photography, Tutorials & Techniques
The Unshakable Foundation of Light
Every single pixel in every single photo you’ve ever admired comes down to how light hit the sensor. Period. No amount of post-processing wizardry can salvage a truly botched exposure. It’s a harsh truth many beginners discover the hard way.
For newcomers, this often feels like a dark art, a secret handshake among pros. It isn’t. It’s physics, beautifully applied. The exposure triangle – Aperture, Shutter Speed, and ISO – these aren’t just settings; they’re the three levers of light control. You learn these, you own your camera.
Aperture: The Depth Master
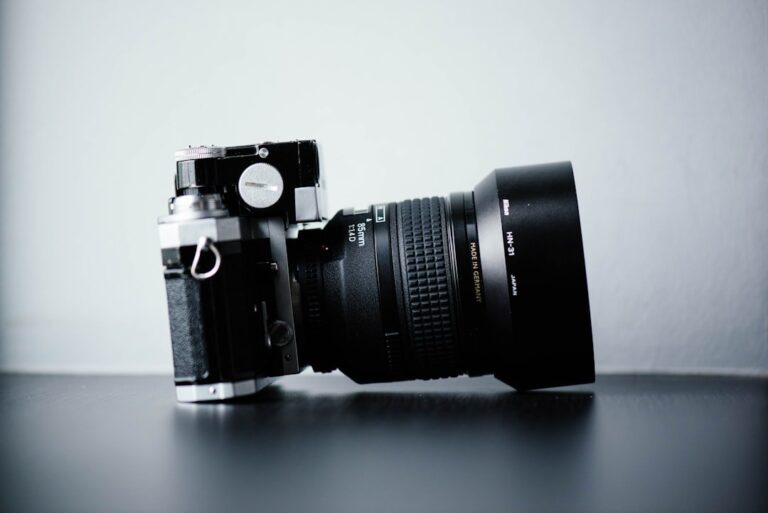
Think of aperture as the pupil of your lens. It’s an opening, measured in f-stops (f/2.8, f/8, f/16). A smaller f-number (like f/2.8) means a wider opening, letting in more light. A larger f-number (like f/16) means a smaller opening, restricting light. Simple enough, right?
But here’s the kicker, the real creative power: depth of field. Shoot wide open at f/2.8, and you get that creamy, blurred background – bokeh – that isolates your subject, making them pop. It’s a signature look for portraits and detail shots.
Stop down to f/11 or f/16, and everything from foreground to background snaps into sharp focus. Your choice dictates visual impact. It’s not just about light; it’s about what you want your viewer to see, and crucially, not see.
Shutter Speed: Time’s Keeper
Shutter speed is exactly what it sounds like: how long your camera’s shutter stays open, exposing the sensor to light. Measured in fractions of a second (1/1000s, 1/60s, 1s). It’s your control over motion.
Fast shutter speeds (1/1000s, 1/250s) freeze action dead. Think sports photography, splashing water, kids mid-jump. You stop time, capturing a split-second with crystal clarity. This is essential for sharp, decisive moments.
Slow shutter speeds (1/30s, 1s, 30s) blur motion. Think silky waterfalls, light trails from cars, or ghosting figures in a bustling street scene. This isn’t just about brightness. This is about movement. Are you capturing a precise moment, or painting with the passage of time? That’s the decision.
ISO: The Light Amplifier
ISO, in simple terms, is your sensor’s sensitivity to light. Lower ISOs (100, 200) mean less sensitivity, requiring more light but producing cleaner images. This is your preferred setting for maximum image quality.
Higher ISOs (800, 1600, 3200+) mean more sensitivity, good for dim conditions, but at a cost. That cost? Digital noise, or “grain.” Push your ISO too high, and your images start looking gritty, losing detail and color fidelity. It’s a trade-off: you gain the ability to shoot in near darkness, but you sacrifice image purity.
I often call it the “emergency light button.” Use it when you absolutely have to get the shot, and aperture or shutter speed adjustments aren’t enough. But always, always start with the lowest ISO you can get away with for the cleanest results.
The Dance of Three: Finding Your Balance
Here’s where the magic truly happens. These three aren’t independent. They’re interconnected, like a three-legged stool. Change one, and you must adjust at least one of the others to maintain proper exposure. It’s a constant negotiation, a photographic seesaw.
Say you open your aperture from f/8 to f/2.8 to get more bokeh. You’ve just let in significantly more light. To compensate, you’ll need to either speed up your shutter, drop your ISO, or a combination of both. Your camera’s light meter will guide you, but your creative vision makes the final call.
Want shallow depth of field and to freeze fast action in low light? You’ll need a fast lens (wide aperture) and likely a higher ISO. Want everything sharp and to show motion blur? You’ll need a small aperture and a slow shutter, probably a tripod, and a low ISO. There’s no single “right” answer; only the right answer for your vision.
Practice, Practice, Practice
Forget auto mode. Seriously. Put your camera in Aperture Priority (Av/A), Shutter Priority (Tv/S), or Manual (M) mode. Start experimenting. Shoot the same subject with different settings. See how changes in one affect the others, both technically and aesthetically.
The goal isn’t just to get a correctly exposed image; it’s to get the creatively desired exposure. You’re not just taking a photo; you’re making a statement. This understanding unlocks immense creative freedom.
Beyond the Basics: Breaking the Rules
Once you understand the rules, you can break them. Intentionally overexposing for a bright, airy, high-key feel. Underexposing for a moody, dramatic, low-key silhouette. These aren’t mistakes; they’re artistic choices, precisely because you understand the baseline and the impact of your adjustments.
This isn’t just about “correct” exposure. It’s about intentional exposure. It’s about control. It’s about telling your story, exactly how you envision it. This triangle isn’t a limitation; it’s your compass. Master it, and the world opens up, ready for you to capture it with purpose and precision.
Photo by William Thomas on Unsplash.