Drone Photography for Architectural Storytelling: New Perspectives and Challenges
- Sinisa Zec Studio
- No Comments
- Photography, Tutorials & Techniques
Most people get a drone and think the job is to fly it as high as possible. They’re wrong. They post a generic top-down shot of a building and call it ‘a new perspective.’ That’s not a perspective; it’s a gimmick, and it gets old fast. The real job is to find the angle that tells the building’s story, and sometimes that angle is just ten feet off the ground, skimming across a reflecting pool.
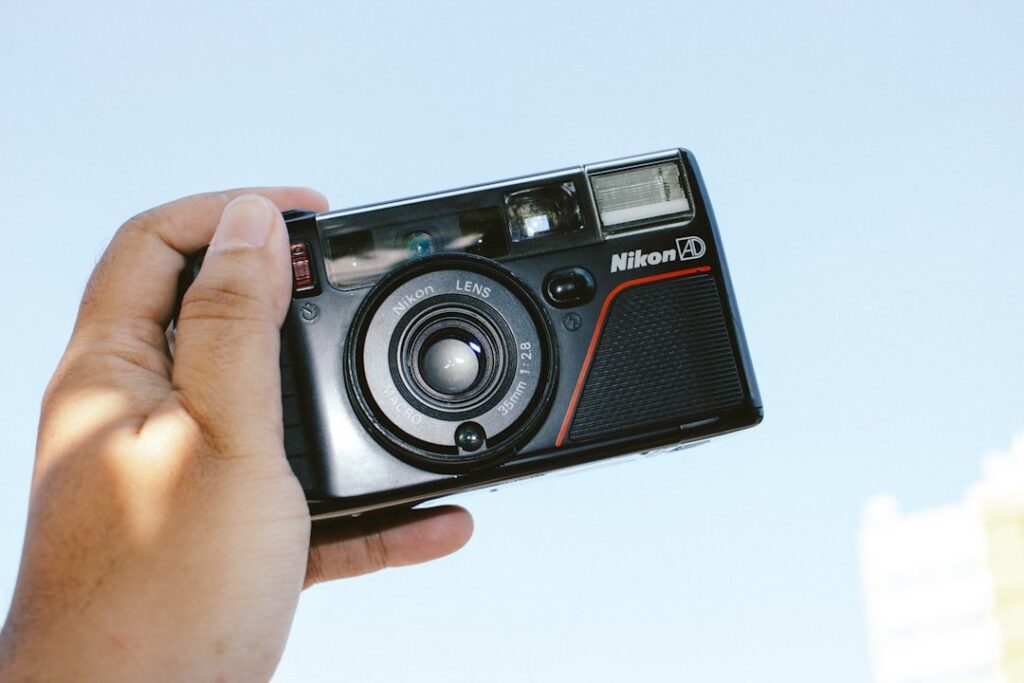
For 15 years, I’ve turned ideas into lasting visuals. Whether I’m designing a brand identity or framing a portrait with my Nikon Z6 III, the goal is always the same: find the narrative. A drone doesn’t change that goal. It just gives you a different, and often more complicated, tool to achieve it.
This isn’t just about pretty pictures. It’s about using a drone to communicate the architect’s intent, the building’s relationship with its environment, and the human experience of a space. Let’s get into the real work.
Step 1: The Unglamorous Work of Planning & Legality
Before you even think about powering on the props, the most important work happens at your desk. Flying a drone, especially in urban or semi-urban environments, is not a casual act. It’s a responsibility. The regulations are not suggestions; they are hard lines, and crossing them can end your project, your business, and land you in serious trouble.
I’m not going to list the laws for every country—that’s your job to know, intimately, for every location you shoot. But the principles are universal. You need to check for no-fly zones, airports, temporary flight restrictions, and local municipal bylaws. Use airspace management apps, but don’t stop there. Call local authorities if you have to. Assume nothing.
Once legal, creative planning begins. I use Google Earth Pro to do a virtual scout. I’m looking for potential compositions, sightlines, and—just as importantly—obstacles. Power lines, trees, and other buildings are all part of the equation. I also study the sun’s path. Where will the light be at sunrise? At golden hour? How will shadows play across the facade? An on-site scout is always better, but a digital one is the bare minimum.
Step 2: Composing for the Narrative, Not the Novelty
Once you’re cleared for flight, the temptation is to go high. Resist it. Think like a photographer, not just a pilot. Your drone is a floating tripod that can get into places you can’t. That’s its power.
Here are the compositional approaches I actually use:
The Abstract View: This is the top-down shot, but done with intent. I’m not just looking at a roof; I’m looking for graphic elements. The patterns of a courtyard, the intersecting lines of a complex junction, the texture of repeating architectural forms. My background in graphic design, starting from the floor of a print shop, trained me to see these things—shapes, balance, and rhythm. A building’s roof can be a piece of abstract art if you frame it correctly.
The Low-Angle Reveal: Some of my most effective architectural drone shots are taken from below 20 feet. Imagine slowly rising from ground level up the face of a skyscraper, or tracking sideways just above the surface of a river to show a bridge’s supports. These angles create a sense of scale and drama that a high-altitude shot completely misses. It’s about placing the viewer in an impossible, but understandable, position.
The Orbital Shot: A smooth, controlled orbit around a building is a classic for a reason. It reveals the structure’s three-dimensionality and how it interacts with light from all sides. But don’t just orbit from one altitude. Try a low orbit, then a high one. Combine the orbit with a slow ascent or descent (a ‘corkscrew’ motion) to add dynamism. This is about showing form and volume.
The goal is to show the building in its world. How does it command a street corner? How does it sit within a park? How does it reflect the sky? The story is almost never just about the building itself; it’s about its place.
Context is King: This is where drones truly beat any other tool. Pull back and show the building’s relationship to its surroundings. Show the flow of traffic around it, the grid of the city it belongs to, or the way it stands alone in a natural landscape. Capturing this environment, right down to the placement of a major billboard on a nearby highway, tells a richer story. This contextual view explains *why* the building is the way it is.
Step 3: In-Flight Technique and Getting the Data
A drone’s sensor is not your full-frame camera. My Z6 III can handle incredible dynamic range and low light. A drone sensor, even a good one, is smaller and needs to be treated with respect. That means you have to give it the best possible data to work with.
Shoot RAW. This is not negotiable. You need every bit of data that sensor can capture for post-processing. JPEGs are for clients to review, not for professional work.
Use Filters. An ND/Polarizer filter is practically mandatory. The ND part allows you to maintain a cinematic shutter speed for video (double your frame rate) without stopping down your aperture to f/11. The polarizer is critical for cutting glare from glass, water, and metal surfaces, which are everywhere in architecture. It brings back color and detail you can’t recover in post.
Bracket Everything. Auto Exposure Bracketing (AEB) is your best friend. I always shoot a 3 or 5-shot bracket for my key images. The bright sky and deep shadows of a building are often too much for a single exposure on a smaller sensor. Bracketing gives you the data to create a perfectly exposed HDR image in post, capturing detail from the brightest highlights to the darkest shadows.
Keep ISO Low. Stick to your base ISO (usually 100) whenever possible. Noise creeps in very quickly on these sensors. It’s better to have a slightly longer exposure on a stable drone in calm air than to crank the ISO.
Step 4: Post-Processing with Purpose
My philosophy is to get it right in camera, but with drone photography, the processing stage is where the story is finalized. The goal is enhancement, not fabrication.
First, I merge my bracketed exposures in Lightroom. The resulting HDR DNG file gives me a huge amount of latitude. The next step is always lens correction and perspective control. Drones have wide-angle lenses that create distortion. Use the profile corrections to fix it. More importantly, fix your verticals. Buildings should look straight, not like they’re falling over backward. Use the Transform tools to ensure all vertical lines are perfectly vertical. This discipline comes from my prepress days—the file has to be technically perfect before it can be considered creatively successful.
From there, it’s about color and contrast. I lean toward a dark, moody aesthetic, which can work beautifully to emphasize the texture of concrete, the gleam of steel, and the mood of the sky. I dodge and burn locally to guide the viewer’s eye, pulling attention to the most important architectural features. The edit should serve the architect’s vision, highlighting the materials, forms, and light they designed the building to interact with.
What I don’t do is create a plastic, oversaturated fantasy. The image needs to hold. It needs to feel real, just captured from a perspective that reveals its true character.
Putting It Into Practice
- The Story is the Strategy: Before you fly, define the single most important thing the building communicates. Is it power? Harmony with nature? Innovative design? Every shot you take should serve that one idea.
- Master the Machine, Then Forget It: Know your drone’s settings and limitations inside and out so that when you’re flying, you can focus 100% on light, angle, and composition. The technology should be invisible to your creative process.
- Respect the Rules and the Reality: The best drone photographers are disciplined planners, not reckless daredevils. Your professionalism in navigating the legal and logistical challenges is as important as your creative eye.
Shift your mindset: stop ‘taking aerial photos’ and start ‘telling architectural stories.’ The drone becomes an extension of your vision, letting you speak the language of space, form, and environment. Now go create something that lasts.
Frequently Asked Questions
What are the most essential drone camera settings for architecture?
Always shoot in RAW format. Use Auto Exposure Bracketing (AEB) with 3 or 5 frames to capture the full dynamic range. Keep your ISO at its base level (usually 100) to minimize noise.
Is it better to shoot photos or pull stills from 4K/8K video?
For the highest quality and flexibility, shoot dedicated RAW photos. Video stills are compressed and offer far less data for post-processing, especially when correcting perspective or recovering shadow detail.
How important are ND/Polarizer filters for architectural drone photography?
They are absolutely critical. A polarizer cuts glare and reflections from glass and metal, which is essential for architecture. ND filters give you control over your shutter speed, which is key for both smooth video and creative long exposures for stills.
What’s the biggest mistake beginners make with drones in architectural photography?
The biggest mistake is thinking that high altitude equals a good photo. They fly straight up and take a flat, uninspired top-down shot, completely ignoring composition, light, and the building’s relationship to its immediate environment.